


How to install Wall Panelling?
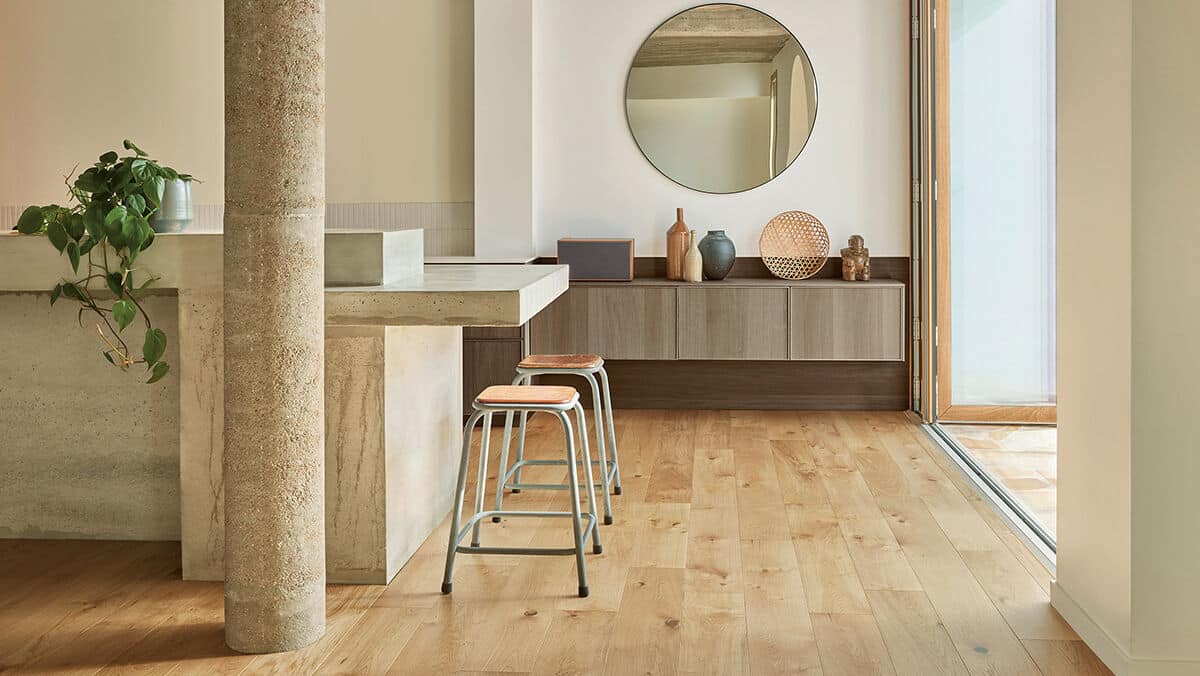
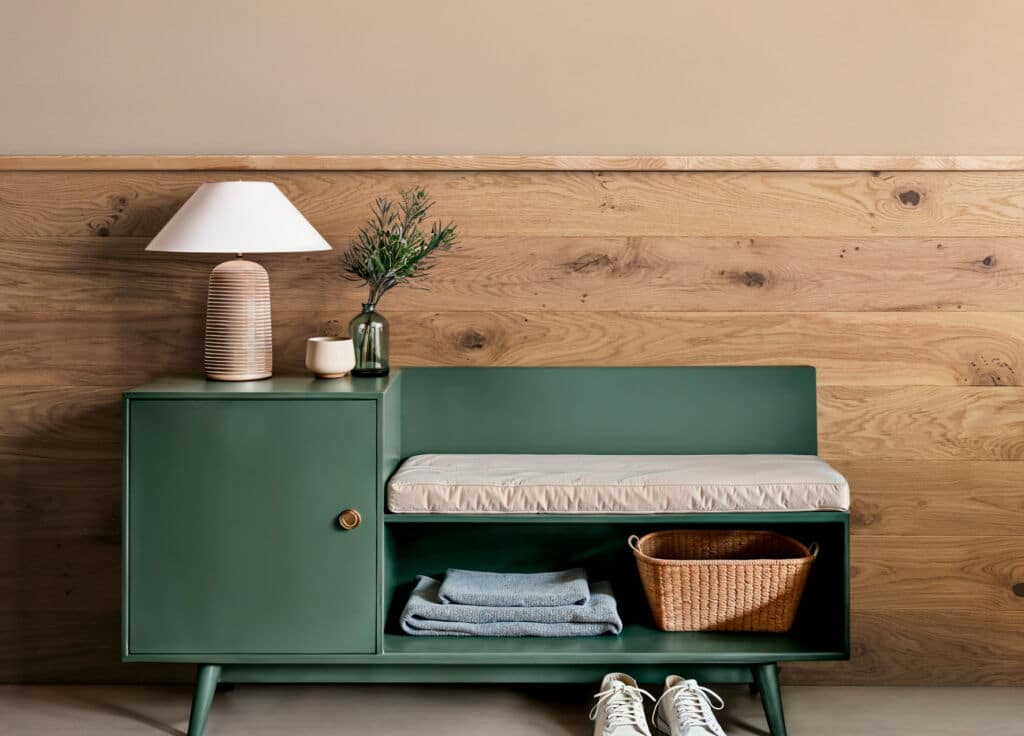
Agreeing on the color of your home’s walls is often a real headache… For a trendy choice, installing wood paneling, or wall parquet, can be the solution to this problem. Installing wood paneling guarantees a warm and truly original home. Find out more in this article!
Types of planks you can attach to the wall
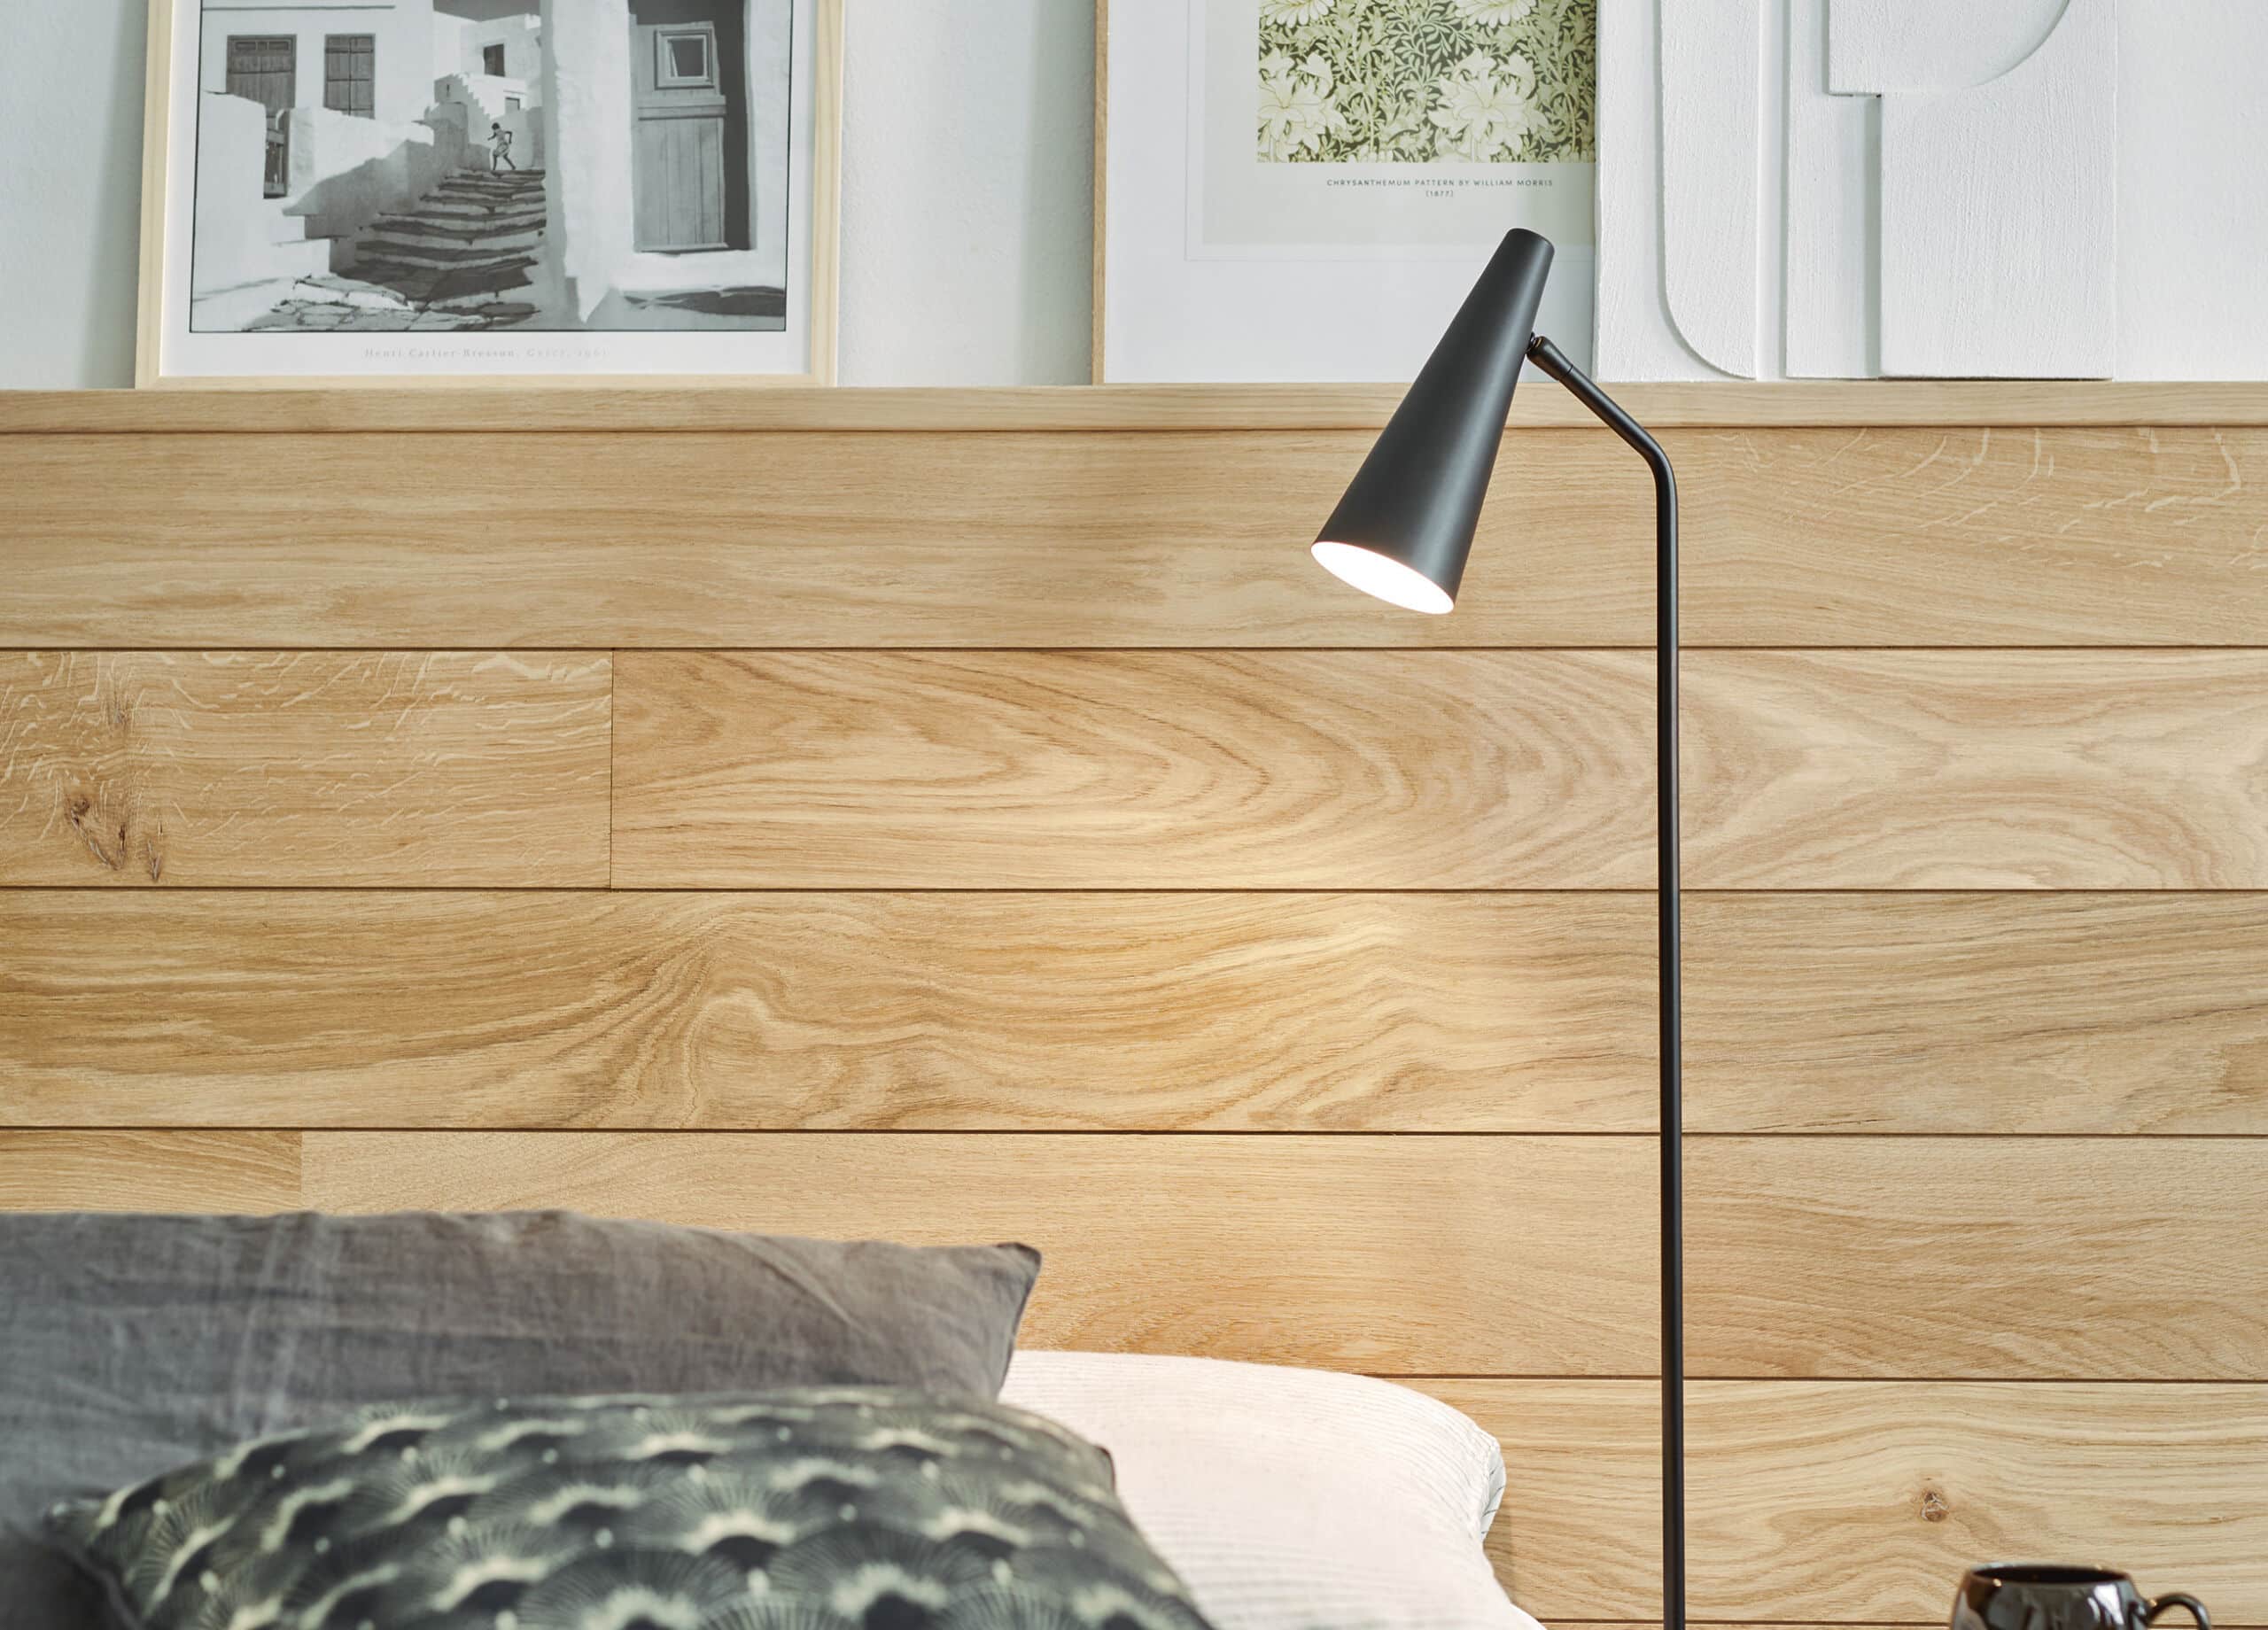
Curious and undecided? To learn more about the types of wood paneling available, check out our tips for better choosing your wood paneling concept! Of course, there are several ways to attach wood panels to the wall. At Panaget, we have patented the wood paneling concept with a simple and quick installation. Traditionally, battens were first placed on the wall and the wood panels were nailed on top. We revisit with you the easiest way to attach your new wood floor to your walls.
Steps to follow for attaching Wall Panelling
Attaching wood panels to the wall doesn’t require the same techniques as the more common floor parquet installation. Even though attaching wood panels to the wall remains an aesthetic choice, it is also a practical one. Indeed, installing panels on the wall requires much less maintenance in the long run.
Preparing the wall for installation
Check the flatness of the framework and the alignment of the metal furrings using a spirit level, and check the spacing (maximum 60 cm) of the vertical furrings.
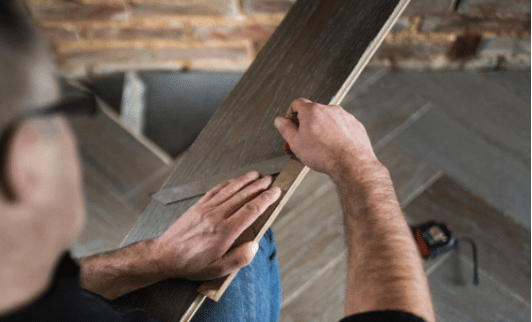
Attaching the first row of planks to the wall
First, open the Wall Wood packages and cut off the tongue of the first plank with a saw. It is important to ensure that no burrs remain. On each plank of the first row, attach the starter clips to the cut side of the plank. (For planks longer than 1 meter: attach 3 clips. For planks shorter than 1 meter: attach only 2 clips). Insert the starter clips of the first plank into the top mounting rail. Since the installation is done from top to bottom, slide the plank horizontally, leaving a 1 cm gap with the wall. Place a row of Panaget mounting clips on each metal furring strip under the plank. Then push the mounting clips into the groove using the wooden block to lock the plank in place.
Attaching the second row to the wall
You can now attach the second row of wall wood. To do this, trim the plank and place the fasteners. Apply a bead of wood glue to the end tongue that will receive the second plank, and engage the starting fasteners on the rail, then fit the second plank into place. If there is excess glue, wipe it off with a cloth. Install the mounting clips. Continue installing the Wall Wood along the entire length of the wall. Take the offcut from the first row. To place the last plank of the row, measure the remaining space, subtracting 1 cm. Transfer this measurement to the plank and cut it using a circular saw. Then trim the plank and position it, securing it with the mounting clips.
Attaching the following rows to the wall
Start the next row with the offcut from the previous row. Note that it should be longer than twice the width of the plank for aesthetic reasons. Fit the plank into the groove of the upper plank and install the mounting clips as you did for the first plank. For each row, it is necessary to apply a bead of glue to the end tongue of the plank. Continue the installation by repeating the process until you reach the bottom of the wall.
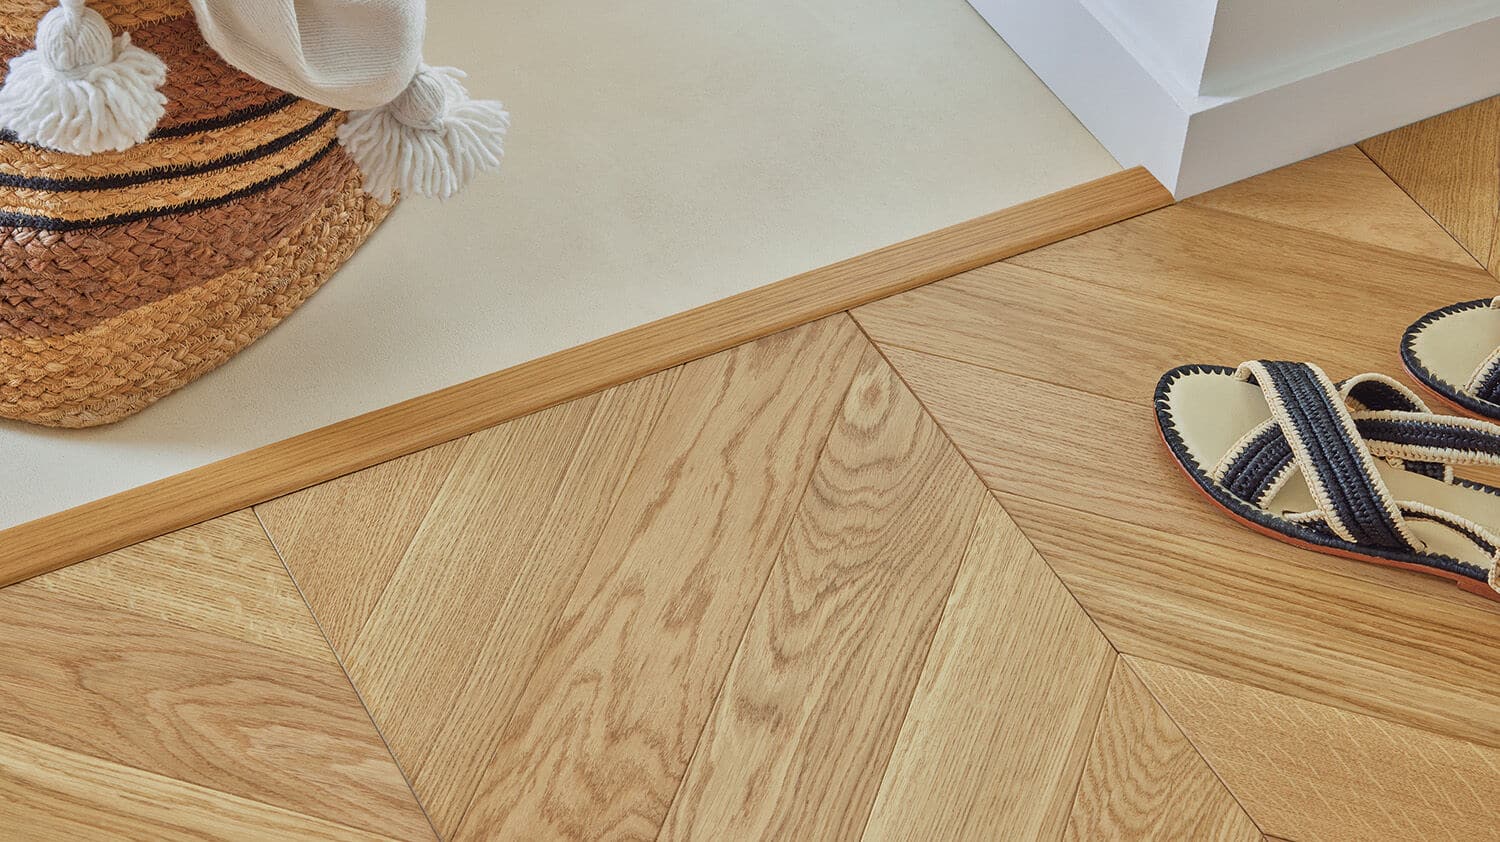
Your original solution for dressing your walls is now completely installed! Even though this installation is quite simple, it is important to take precautions and be as precise as possible.
For more information on installing wood flooring on walls, you can contact one of our retailers or request a quote.