


How to glue down wood floors
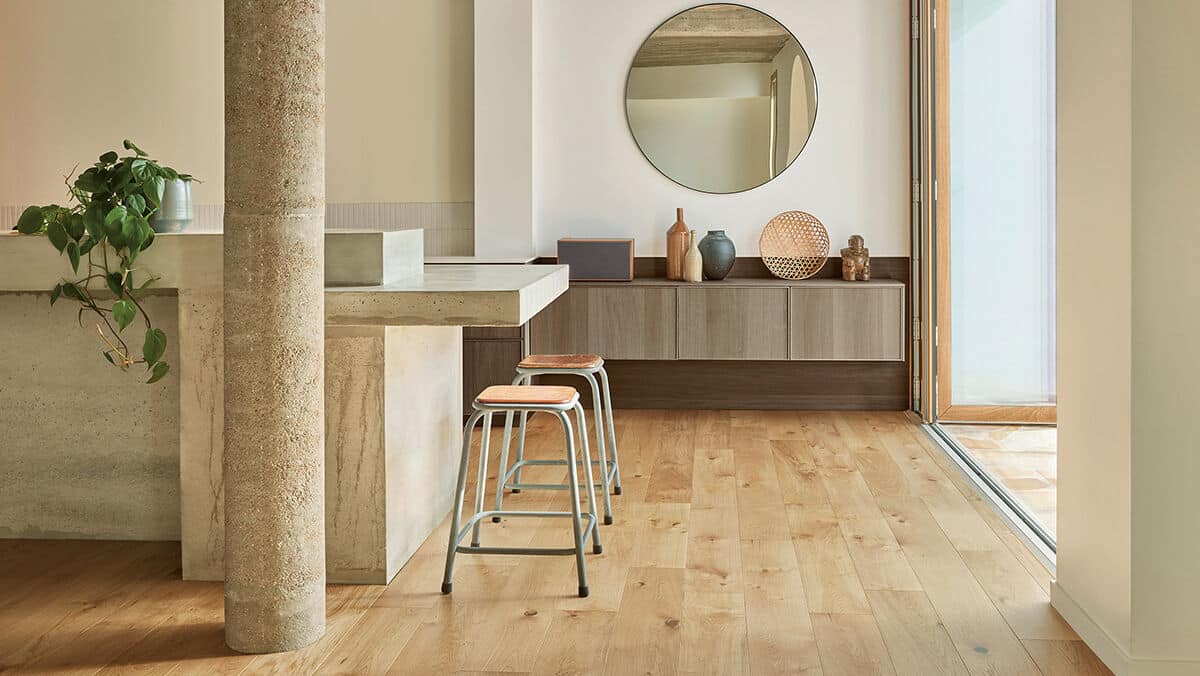
Installing your wood floor depends on each room and type of wood floor in your home. Gluing down is one of the most common techniques today, especially for solid wood floors. This installation system is highly favored because it is very stable and significantly improves the acoustic comfort of the home’s occupants. Moreover, it is perfectly suited for heated floors and reversible heated floors. However, gluing down wood floors requires particular expertise: find out more with the Panaget guide on how to glue down a wood floor!
How to prepare for gluing down a wood floor
Here are some tips before starting the installation:
- Ensure the floor of your room is level using a spirit level (make sure to level it if there is more than a 5mm gap under a 2-meter rule and 1mm under a 20cm rule!);
- Ensure the floor of your room is perfectly clean and dry. Pay special attention to surface cohesion and porosity;
- Determine the direction of the flooring installation, either parallel to the longest side of the room or in the direction of the external light;
- Let your packs of planks rest in the room for two days to a week before opening them (this delay will allow for better installation and prevent future deformations by giving the wood time to adjust to the humidity and temperature!);
- For a more homogeneous and balanced final result, don’t hesitate to mix the different packs of wood flooring to vary the shades and lengths of the planks!;
- Check which type of flooring to choose with underfloor heating if you are considering a heated floor system;
- In an apartment, it is better to plan for an insulator between floors before proceeding with the glued installation!
How to measure the wood flooring before cutting
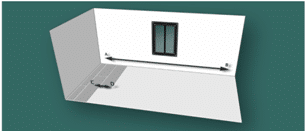
Using a measuring tape, calculate the number of rows needed to cover the width of the room – this aims to determine the dimensions to cut the first and last plank.
To do so, divide the length AB of your room by the width CD of a plank to obtain the reference value, which you will round down (for example, if you get E=24.8cm, round it to 24cm).
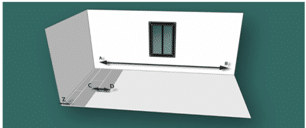
To delineate the width of the first row in the most harmonious way, we then advise you to perform the following calculation: [AB – (E × CD)] divided by 2. This calculation will give you the width of your first row.
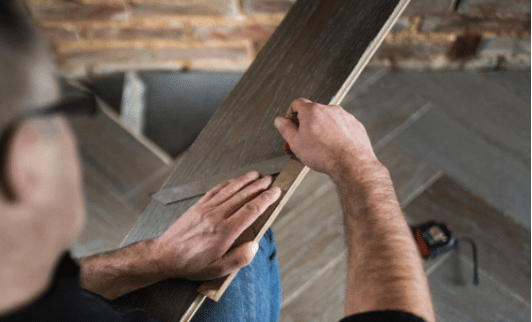
How to cut wood flooring in the event of obstacles
Radiators, pipes, stairs, doors, irregular walls: how to lay wood flooring perfectly despite these obstacles?
For an obstacle like a pipe start, simply transfer the measurements onto the wood floor plank in question (taking into account a minimum 8mm expansion gap), cut, and install a joint or a specific cover.
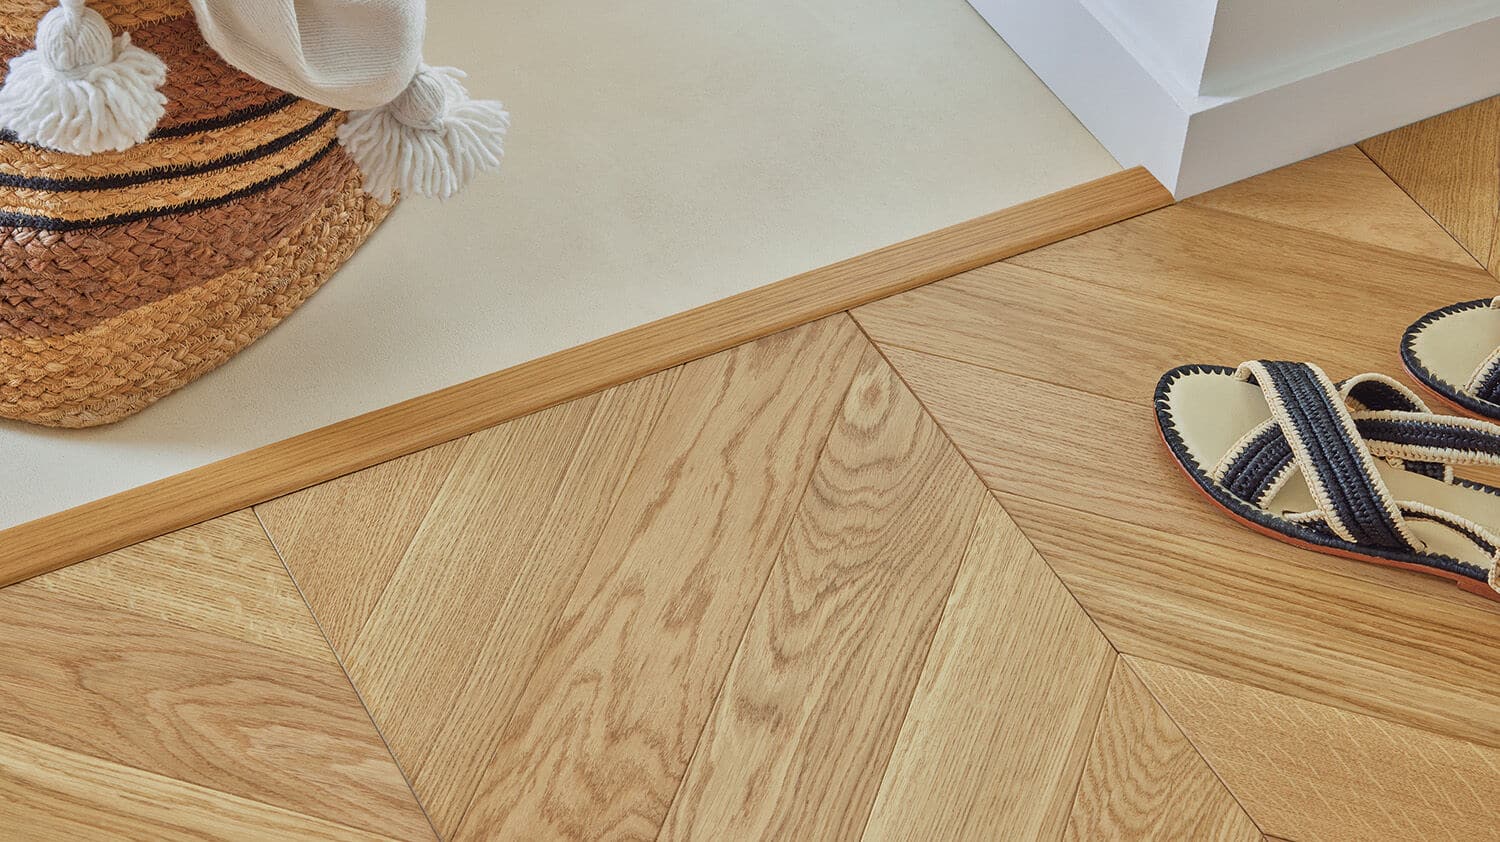
For an obstacle like a doorway or an irregular wall (like a curve), start by transferring the gap and cutting the plank to the desired dimensions, again considering expansion gaps. If there is no baseboard to hide the gap, simply notch the bottom of the door frames to pass the flooring directly underneath. Be careful to consider the thickness of the glue layer, which adds to the thickness of the flooring in calculating the height to notch!
In all cases, we recommend checking that the cut fits well for irregularly dimensioned floor sections before gluing.
How to glue down a wood floor
First, make sure the room’s humidity level is not too high.
Start by applying an appropriate polymer adhesive with a trowel, spreading it with a notched trowel (also called a glue comb): this tool spreads the adhesive in a striped manner for optimal adherence. Always apply the adhesive to a small surface at a time, ensuring that this layer is uniform and of regular thickness!
Each time you proceed with the installation, scrape off the excess adhesive with the trowel outside the area where you are laying the planks to avoid an over-thickness when you install the next plank.
Never glue anything other than the floor: the planks should be laid as they are, pressed firmly enough for the floor adhesive to take hold. If necessary, use a mallet.
Then place spacers between the walls and the wood floor for at least 24 hours to allow for drying. During this period, do not walk on the floor. After this period, the spacers can be removed to install the baseboards and threshold strips intended to cover the empty space.
For more information, Panaget offers its advice sheet on the different installation steps and its tutorial video.